Setup Table Configuration
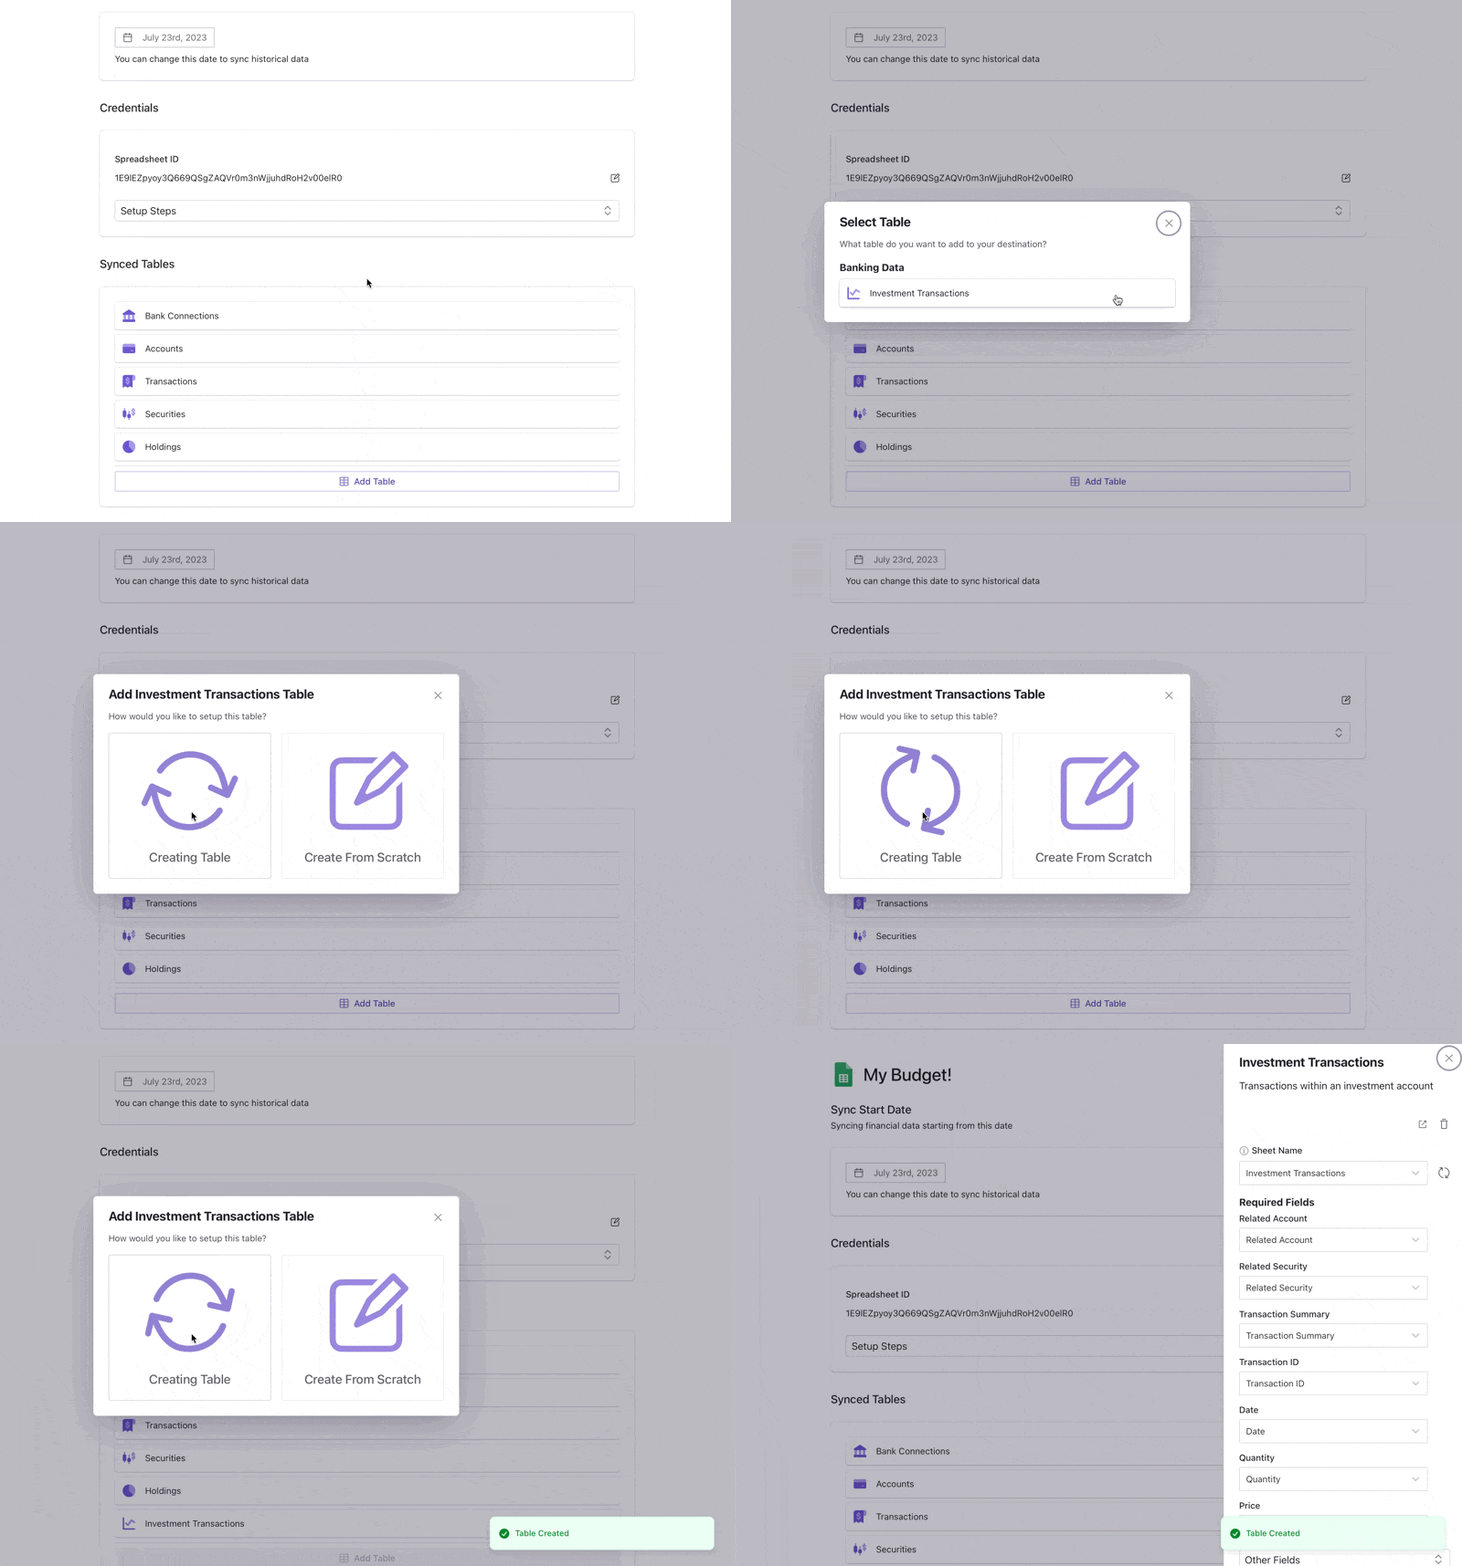
When you create your destination, you can select which tables you would like to be automatically set up for you. If you later decide that you want to sync another table, there are two ways to do so. First, click on “Add Table” on the destination’s page. Then click on the method you want to use. The easiest way is to let Finta set up the template in your destination automatically. We’ll add all possible columns and will give them the appropriate column types (for Notion and Airtable destinations).

Edit Table Configuration
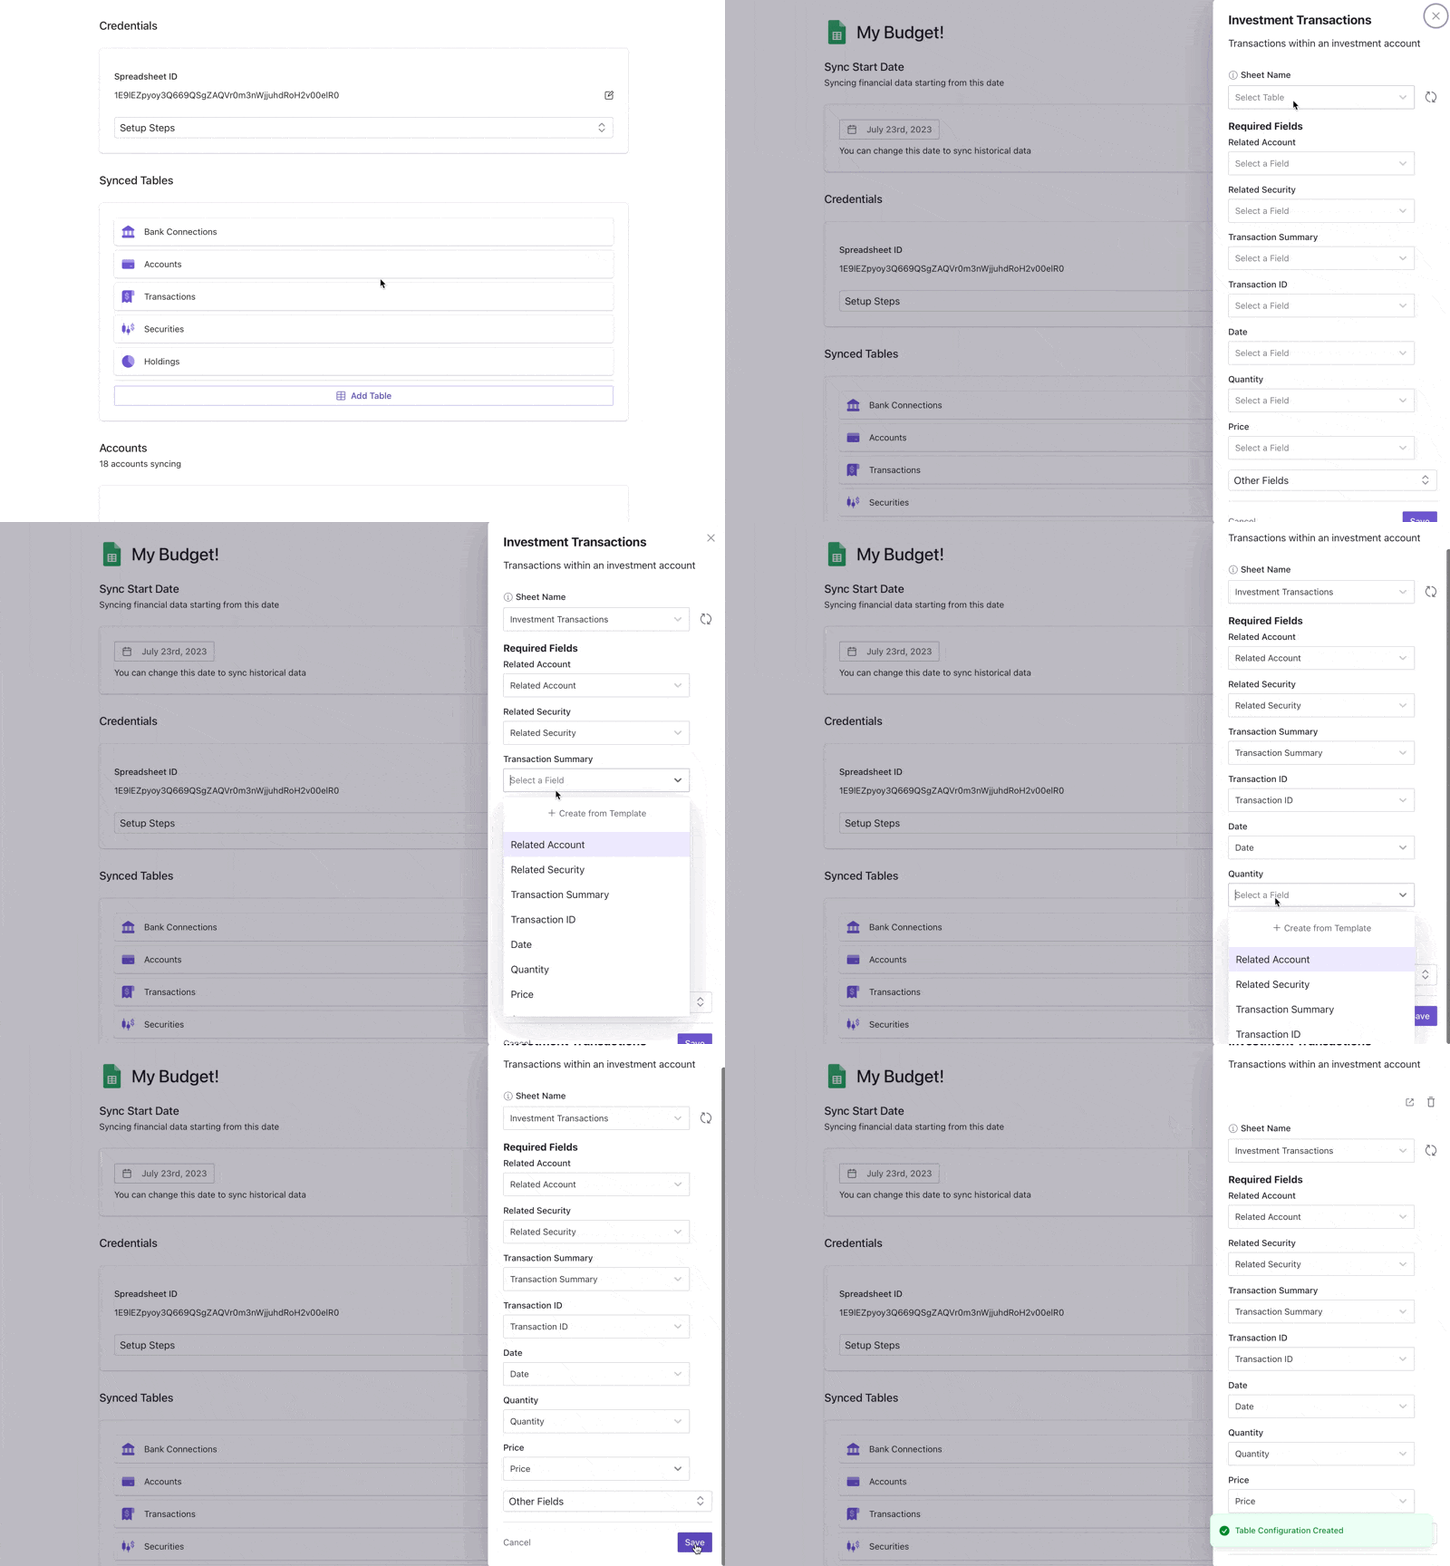
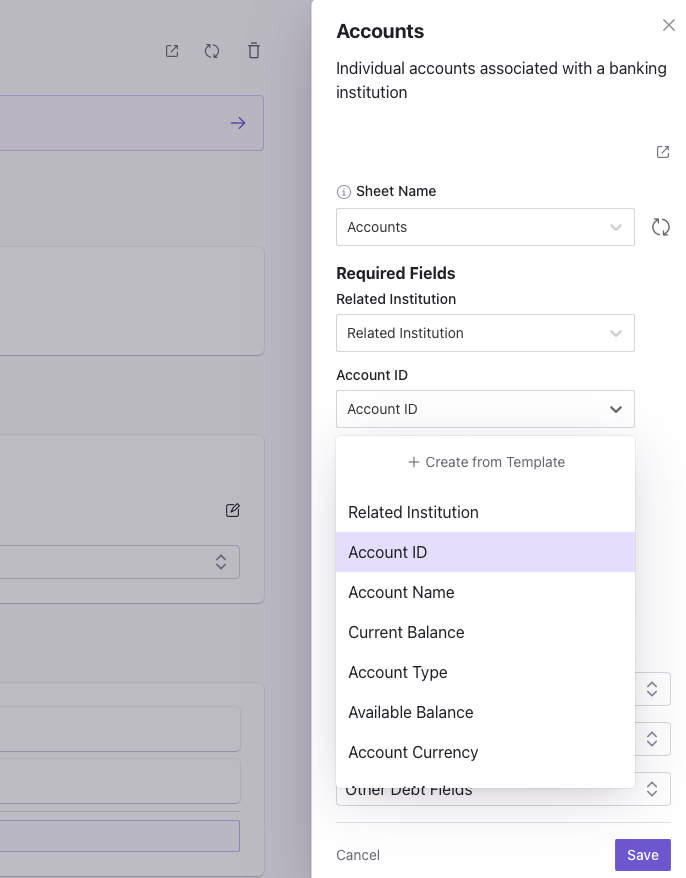
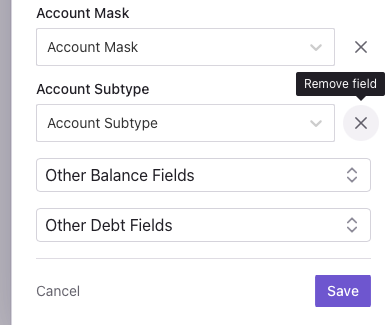
At any point in time, you can update which destination table and columns Finta syncs your data to. To do so, go to your destination’s page, click on the table you would like to update, and select your new table or field.

Removing a Table
To stop syncing a particular dataset to your destination, simply delete the table configuration by clicking on the trash can icon. Doing so won’t delete any of the data in your destination. Rather, Finta will no longer sync data to that table in any future syncs.The Bank Connections and Accounts tables are required for all destinations.